A consistent collection
Keep the same background, shadow and crop instructions across products. Review each result separately rather than assuming identical treatment.
Turn a cluttered product snapshot into a clean visual direction for a catalog or campaign. Start from your actual product photo so the model has a shape, material and label to follow. A generated mockup still needs inspection before it represents an item for sale.
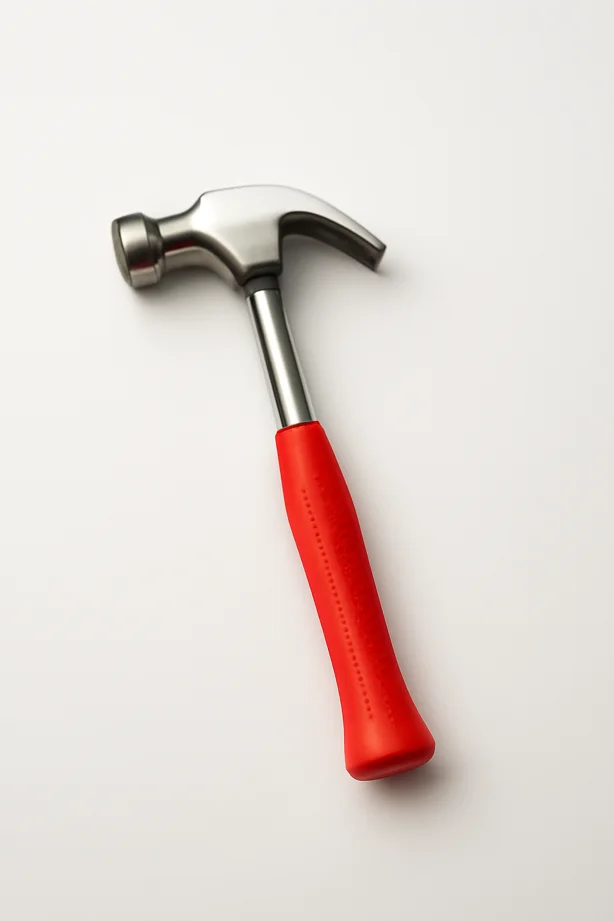
Photograph one product with the label visible and edges in focus. Avoid overlapping objects or fingers covering important packaging. Upload one JPG, PNG or WebP up to 4 MB; keep the original available for comparison.
Opening the preset uses no credits. Review the prompt and quote before generating. A signed-in account, active plan and enough credits are required. See plans.
Edit this brief for your own subject. It is a set of instructions to try, not a guarantee that every detail will be preserved.
Create a clean commercial studio image of the product in this reference photo. Preserve the exact shape, proportions, color, materials, packaging and existing label text. Isolate it against a seamless warm-white background with soft even light, a believable contact shadow and generous margins. Keep all product details readable. Remove surrounding clutter, but do not redesign the product, add branding or invent new text.
Use the warm-white backdrop in this preset. A simple setting makes unwanted product changes easier to detect.
Keep the source camera angle and ask for soft even light with a contact shadow. A shadow should ground the product without hiding its edges.
Compare spelling, logo details, dimensions, packaging and color first. Then evaluate cropping, margins and background consistency.
Keep the same background, shadow and crop instructions across products. Review each result separately rather than assuming identical treatment.
After approving the neutral version, try a dark stone surface with warm side light. Keep props minimal so the item remains the focus.
The sample is a creative collection preview. It shows a direction to try; it is not a recorded before-and-after result from the model selected by this preset.
This workflow generates a replacement scene. It does not guarantee a transparent cutout or preserve the original product pixels exactly.
Read the full image editing guide, compare model settings and credit costs, or return to all examples.
Turn a pet photo into a short AI video in Spicy Mayo. Start with a head tilt and paw movement, use H3 Max, and review markings and motion.
Explore the workflowMake a short dance-inspired AI clip in Spicy Mayo. Prepare a full-body reference, try controlled footwork, and inspect feet, likeness and motion.
Explore the workflow
